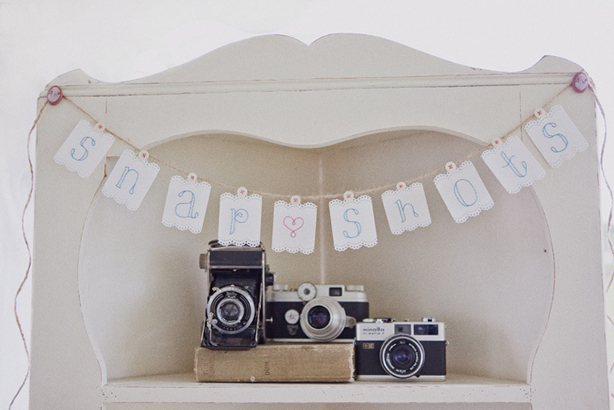
Morning my lovelies. What are you up to today? Are you looking for some DIY Projects to set your Wedding apart from the rest? Or maybe you are looking for that Photo Booth to entertain your guests and to get some off the cuff photographs for the wild version of the wedding album.
The good news is that we have the solution for you on today's issue of Lovely Pretty Things - the DIY Photo Booth.
This wonderful post is one we found on our travels through the realms of our favourite Wedding Blogs and we hand it over to
Project Wedding
Photo booths are all the rage at weddings, and why not? They keep your guests entertained! Here's our step-by-step guide to make your own.
Materials Needed:
- Digital point-and-shoot camera
- Camera tripod
- Remote shutter release
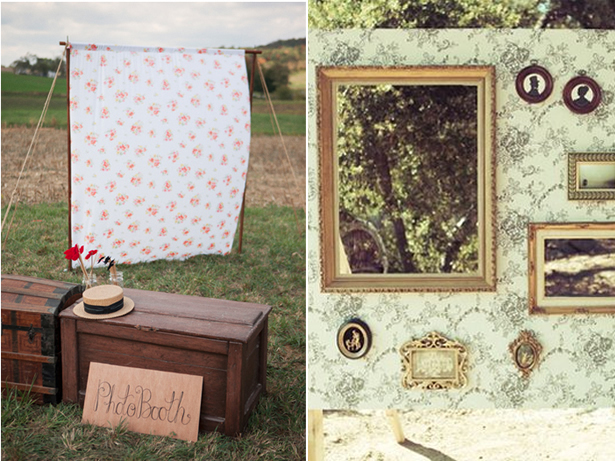
- Backdrop
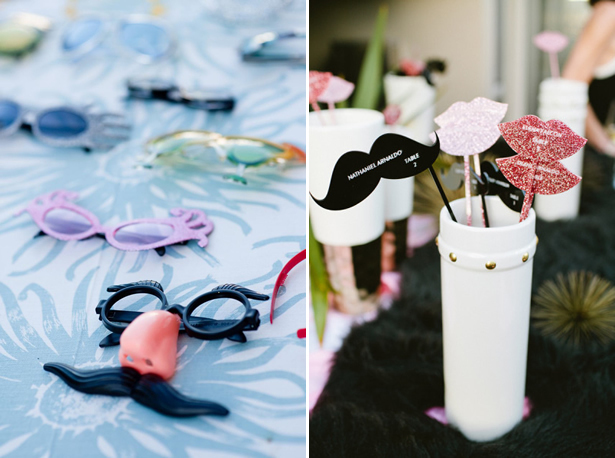
- Props
The Camera - Place a digital point-and-shoot camera on top of an extended tripod at eye level, tunr on the flash (unless you're having a spotlight) and connect a remote shutter release so guests can take their own photos. As backup, have polaroid cameras on standby.
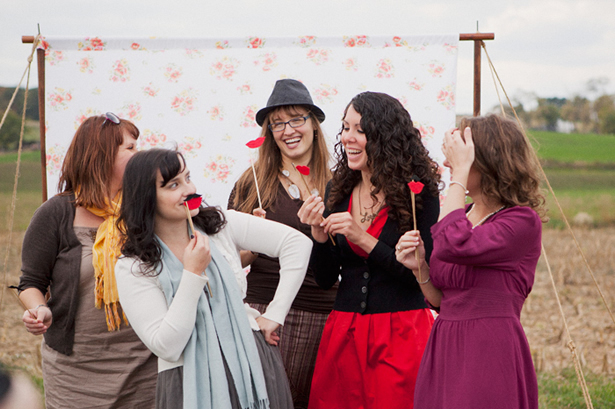
The Backdrop - Pick a colored or patterned piece of fabric that you can hang. If you're having an indoor wedding, pin it to a wall, or if you're having an outdoor wedding hang from curtain rods, secure with rope, and nail into the ground.
The Props - Go on a scavenger hunt! Look for props in your own home (like scarves, hats, glasses, frames). or make your own from paper (lips, mustaches, ties). Even provide chalkboards or dry erase boards for guests to write messages on.
The Location - Choose an area that doesn't obstruct the flow of the reception, but is still easily accessible. If you're having an indoor reception, consider a hallway or corner of the ballroom, or if you're having an outdoor wedding, consider next to the DJ that way guests can pose to the beat.
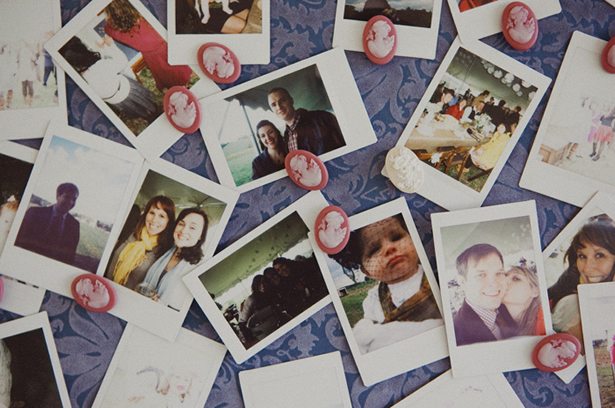
The Extras - After the wedding is all said and done, you're back from your honeymoon, and all the gifts are unwrapped and put away, go through the camera's SD card and save the ones you'd like to put into a scrapbook. Those memories will last a lifetime!
How exciting is all of this? Are you feeling inspired now?
If you make a DIY Photo Booth for your wedding send us some piccies.
Love
Katie x