I don't know whether you have got this far yet with your wedding plans or if your dress will work with a veil like this but, today I have stumbled across a lovely tutorial on how to make your own Birdcage Veil. My veil was the longest length one could buy because I had a dress that would rival Diana's train, so a birdcage one isn't really what would have suited me and my dress. I also have something that I wouldn't class as a phobia more of a flip out situation when it comes to tulle and net but more on that another time.
Its also worthwhile mentioning that my veil came with a designer name and pricetag. My veil cost my parents £212 and that was the half price price (yes that's orginal price of £425.00).
I also think this is quite straightforward, I am not saying you will go into millinary after your wedding but you could save yourself a penny or two.
Here you go
Love
Katie x
Project Wedding
All photos courtesy of Project Wedding
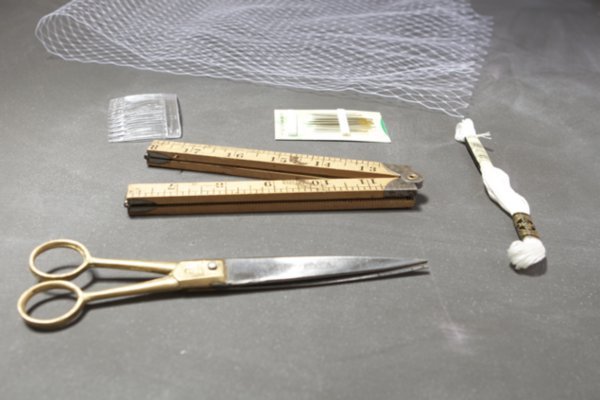
Materials:
2 feet of 18" Russian Veiling
Comb
Thread and Needle
Ruler
Scissors
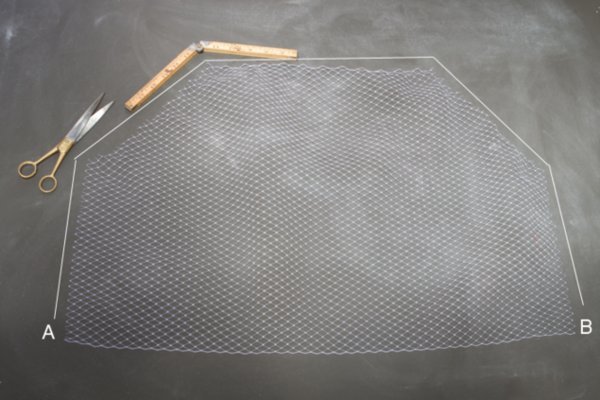
Important Note: There are two sides of the veiling: finished and unfinished. You want the finished end to run across your face NOT the unfinished side.
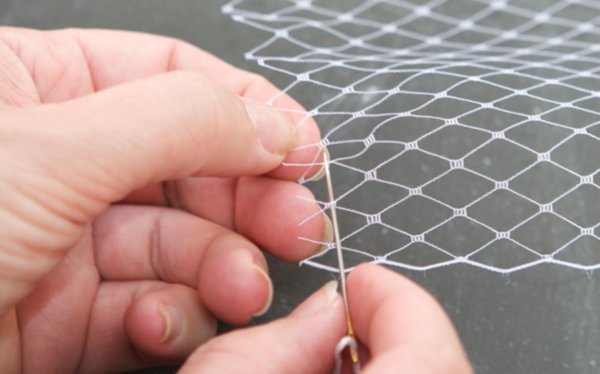
Starting at point A start sewing in and out of the diamond shapes to gather the fabric. You'll continue sewing in and out on all sides until you get to point B.
Sew it to a hair comb.
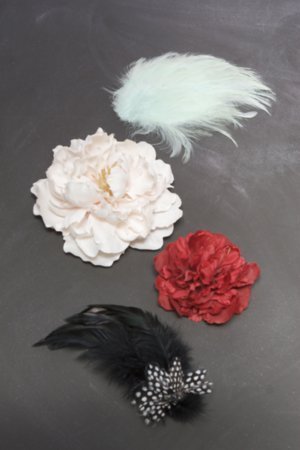
After you attach it in your hair on the side of your head with bobby pins, then add an embellishment like a flower or feather to cover the comb.
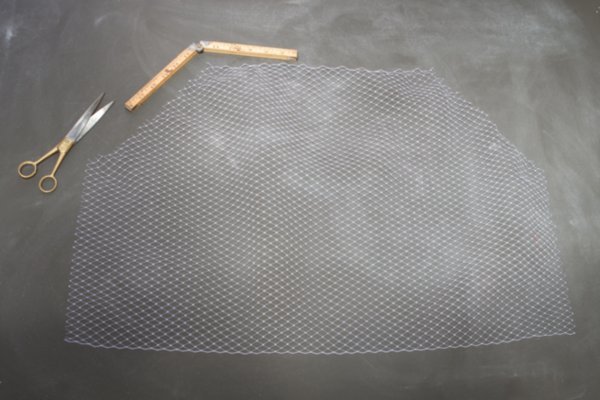
Birdcage veils are made out of Russian Netting or Russian Veiling which is a millinery material. You can usually find it at a really good fabric store or online.
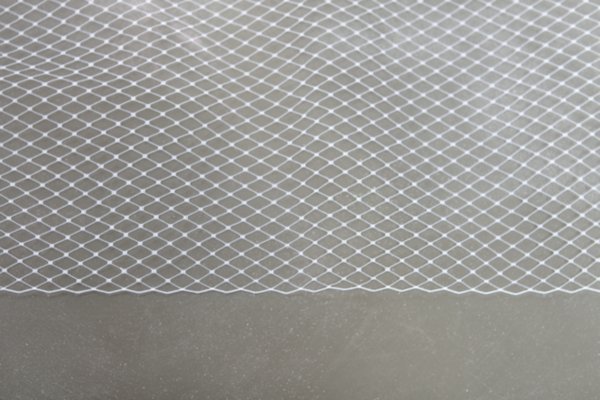
The veiling usually comes in three lengths 9" 12" and 18".
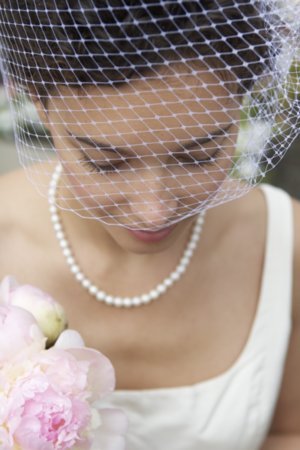
Isn't she gorgeous! If you just want a little coverage over your hair you want 9".

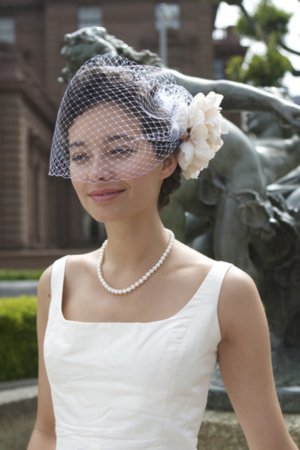
If you want it to cover your eyes, you'll want 12" and if you want it to cover your nose or chin you'll want the 18" veiling (cut it down to 16" to cover the nose.)
It comes in almost every color and you can also find veiling with chenille dots or pearls if you wanted to add embellishment in that way.